Launchpad: Delivering Content to VIDA as a Supplier
How to create a package, upload your files, add metadata, and finalise a delivery in Launchpad.
Overview
This article explains how to deliver files to VIDA through Launchpad: create a package, upload your files, add metadata, and finalise your delivery.
Before You Begin
Log in to Launchpad using your full email address as your username. For full login and Two-Factor Authentication (2FA) setup instructions, see First-time Login to VIDA: Setting up Two-Factor Authentication (2FA).
File transfers in Launchpad use Aspera. Install the Aspera Desktop App before you start uploading — see Uploading files with the Aspera for Desktop App for installation instructions.
Step-by-Step Instructions
1. Create an Upload Package
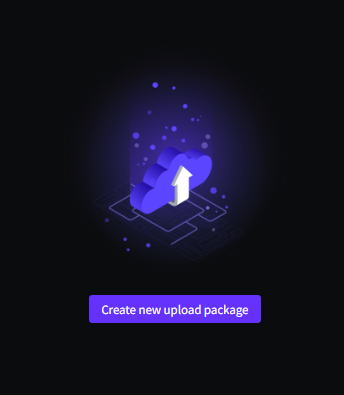
- Select Create New Upload Package.
- Choose either Simple Package, or Template if one has been assigned to you.
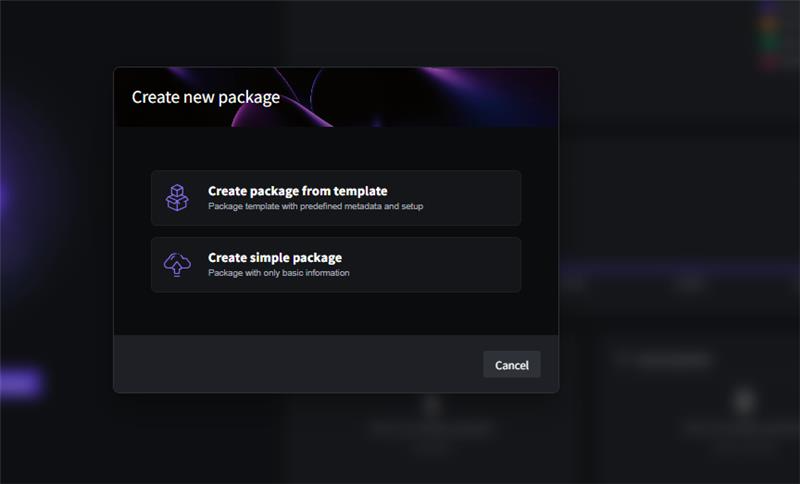
- If you selected Simple Package, enter a title for your package, then select Create Package.
If a template has been assigned to you, we recommend using it — it presets metadata and file containers to standardise recurring deliveries. See Launchpad: How to Use an Upload Template for full instructions, including what to do if a file doesn't fit any of the available containers.
2. Upload Files
You can upload files in a couple of ways:
- Select Select files to upload to open your file explorer.
- Drag and drop files directly into the Select files to upload button.
3. Add Metadata
Launchpad supports two ways to apply metadata: Batch Update (apply the same value to multiple assets at once) and Single Edit (edit one asset at a time, using navigation arrows to move between assets). Your client determines which fields are mandatory, and fields may be a mix of free-text and drop-down selections.
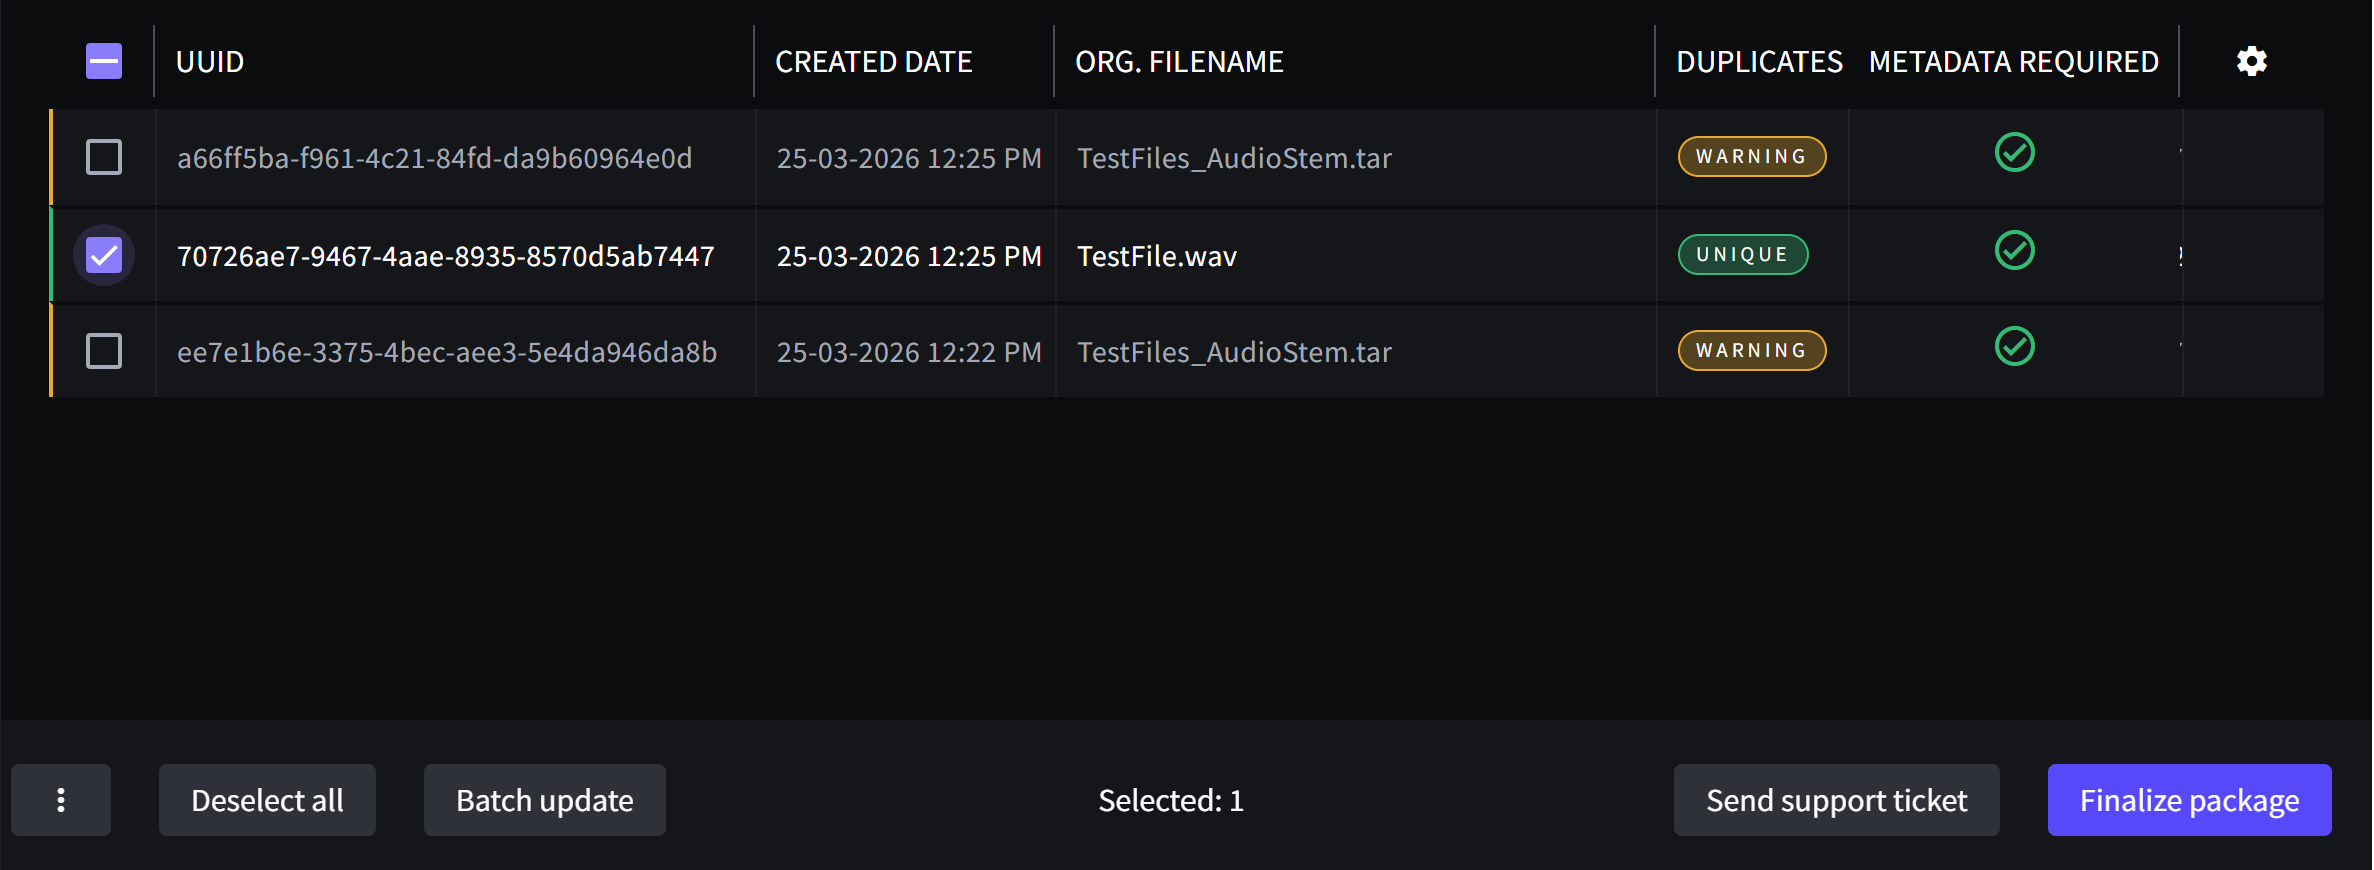
See Launchpad: How to Update Metadata for full step-by-step instructions.
- Always follow the metadata instructions provided by your client.
- If a client requires audio stems to be archived, use a .tar archive rather than a ZIP file — see Creating a .tar Archive for Launchpad Deliveries — and include a clear delivery note describing the contents.
- If required fields are missing or unclear, contact your client representative.
4. Finalize Your Package
Finalize Package locks your files and metadata and submits your package for processing. Until you finalize, your package stays in Draft and is not picked up — nothing happens automatically.
You don't need to wait for your files to finish uploading — select Finalize Package at any point once you're ready to submit.

What happens after finalizing depends on your workflow. Some deliveries are approved automatically; others are sent to the client for review, who will approve or reject the delivery. If you're unsure which applies to you, check with your client. If your package is rejected, see Handling Rejected Assets for how to resolve it.
Troubleshooting & FAQs
Yes. Select Create Simple Package instead of Template when creating your upload package.
Some workflows approve deliveries automatically; others send the package to the client for review. Check with your client if you're unsure which applies to you.
See Handling Rejected Assets for how to resolve it.
Use the Send Support Ticket button within your package — this automatically includes your package details for faster diagnosis. You can also submit a support ticket directly. Alternatively, contact your client representative.
Related Articles
Was this article helpful?
That’s Great!
Thank you for your feedback
Sorry! We couldn't be helpful
Thank you for your feedback
Feedback sent
We appreciate your effort and will try to fix the article