Completing the VIDA Support Ticket Form
A field-by-field walkthrough of the VIDA Support ticket form, from Request Type to submitting your ticket.
Overview
Once you've opened a new ticket in the VIDA Support Portal, you'll see a form with several fields. This article walks through each one, so you know exactly what to enter and why it helps the Support team.

Before You Begin
Have the details of your issue or request ready. See Creating a Great Support Ticket for the questions a good description should answer, and Creating Screenshots and Screen Recordings for VIDA Support for capturing evidence.
Please don't address a ticket to a specific team or individual. Multiple people can help, and waiting for a named person to respond can delay resolution.
Step-by-Step Instructions
Step 1 — Describe the Request
- Request Type. Choose Issue if something isn't working as expected, New Users to request a new user account, Support Query for questions, documentation, or general feedback, VIDA Feature Request for ideas or improvements, or Library Request for actions or queries for VIDA's library team.
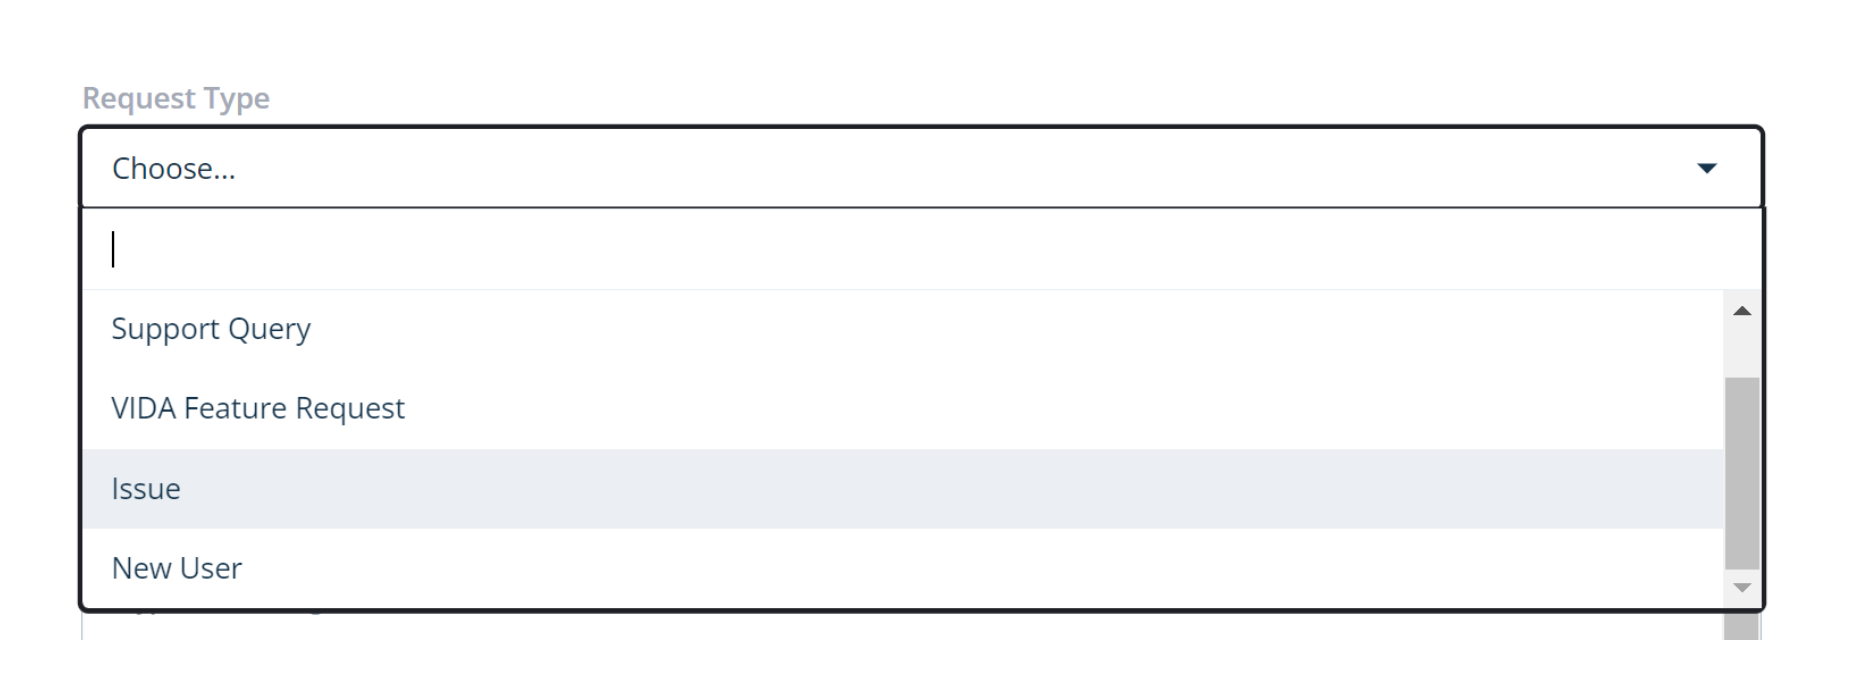 Requesting new users
Some organisations manage new user requests through their own internal process rather than raising them directly with VIDA Support. Check with your team before submitting a New Users ticket — your organisation's VIDA administrator may already handle this.
- Title. Summarise the headline of your issue or request — avoid generic terms such as "broken" or "not working." Including an order number or asset ID here can help.

Step 2 — Add Context
- Product. Let us know which product this relates to — for example VIDA, Launchpad, Connect 2, or Storefront.
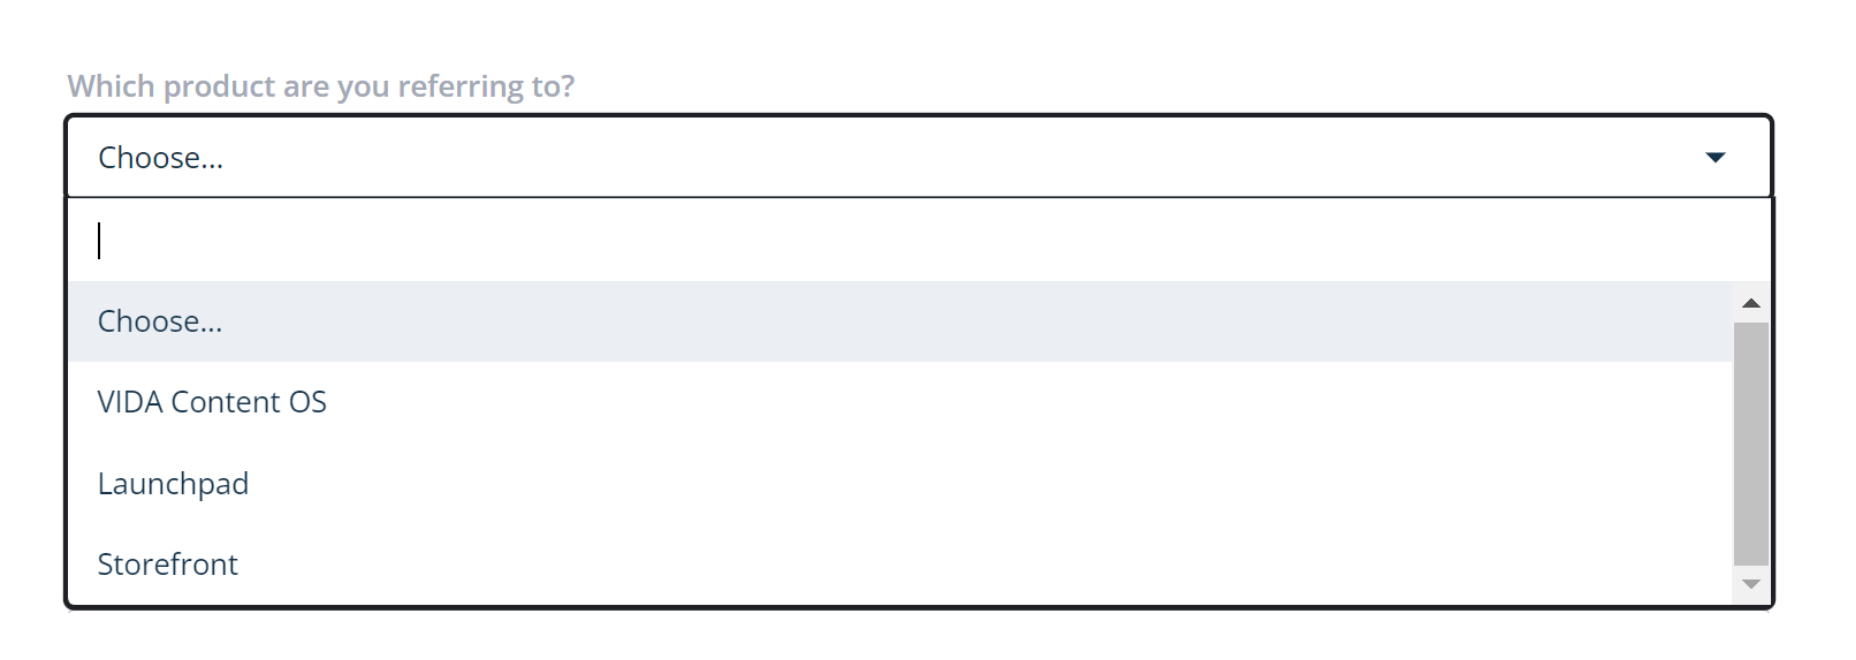
- Priority. Choose the priority that best reflects the impact.
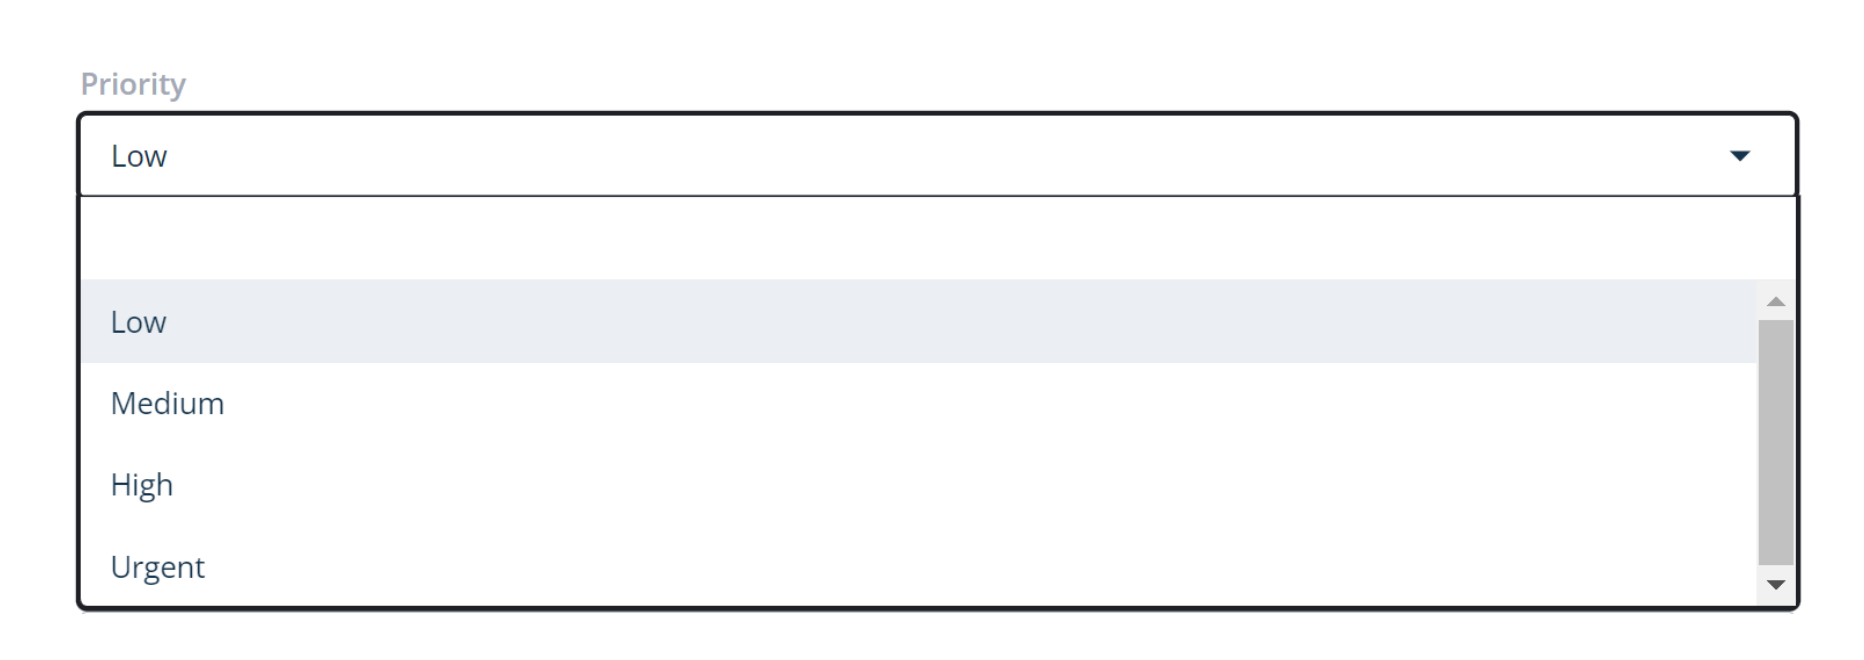
Priority When to use it Low The default priority. Use for change requests, reporting, and general information requests. Medium Standard for requests that are affecting work but not blocking operational or project deadlines — for example, new user requests or user account changes. High Use when operational or project work is blocked and deliveries or deadlines are impacted. Urgent Triggers an automatic escalation, notifying a Support team member even outside working hours. Reserve this for extreme cases, such as an entire department being unable to use VIDA. If a ticket raised as urgent isn't deemed urgent, its priority may be changed. - Browser. Let us know which browser you're using — VIDA works best in Google Chrome, but this helps us replicate your issue exactly.
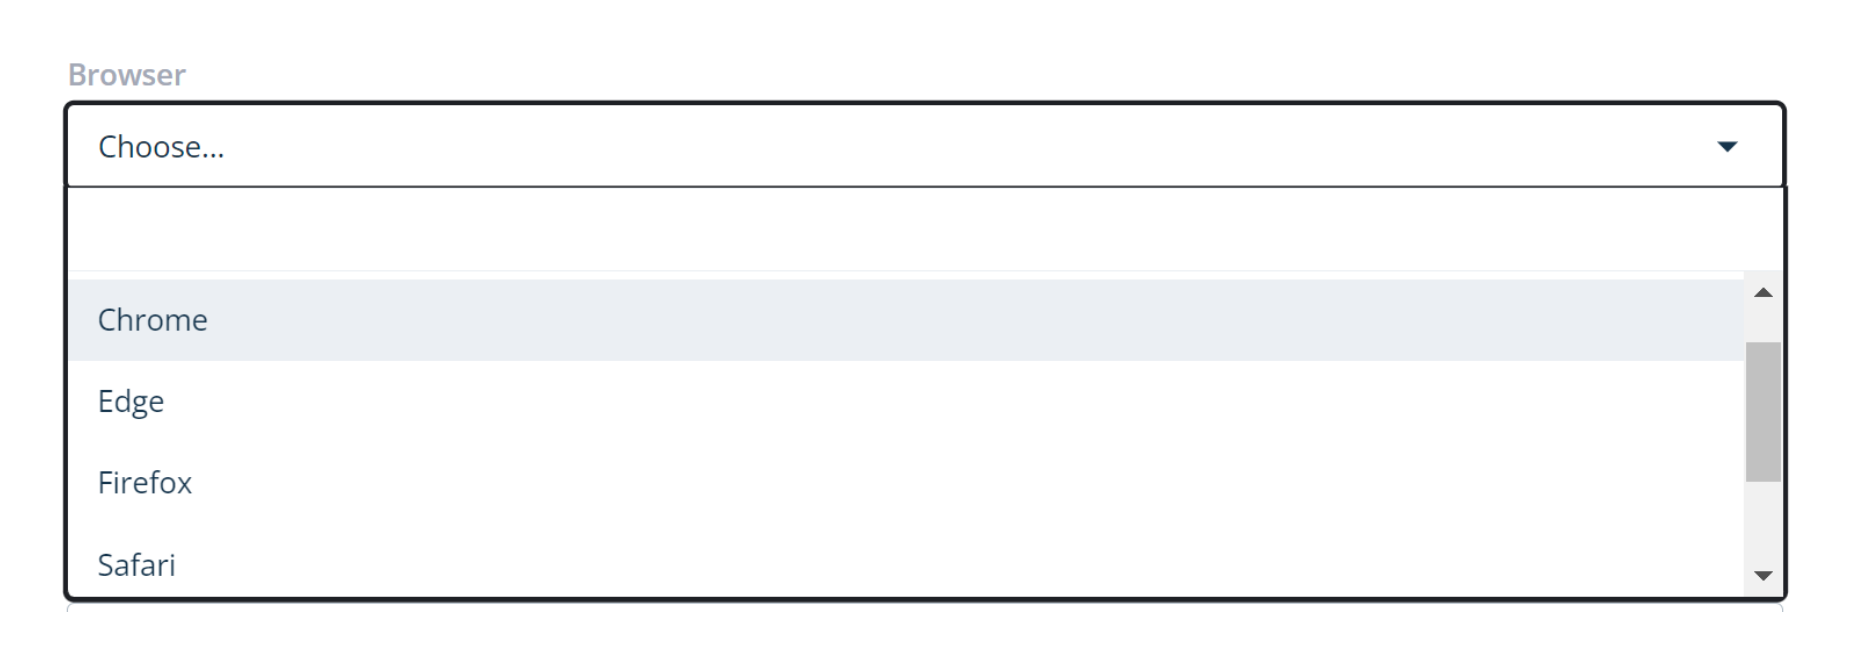
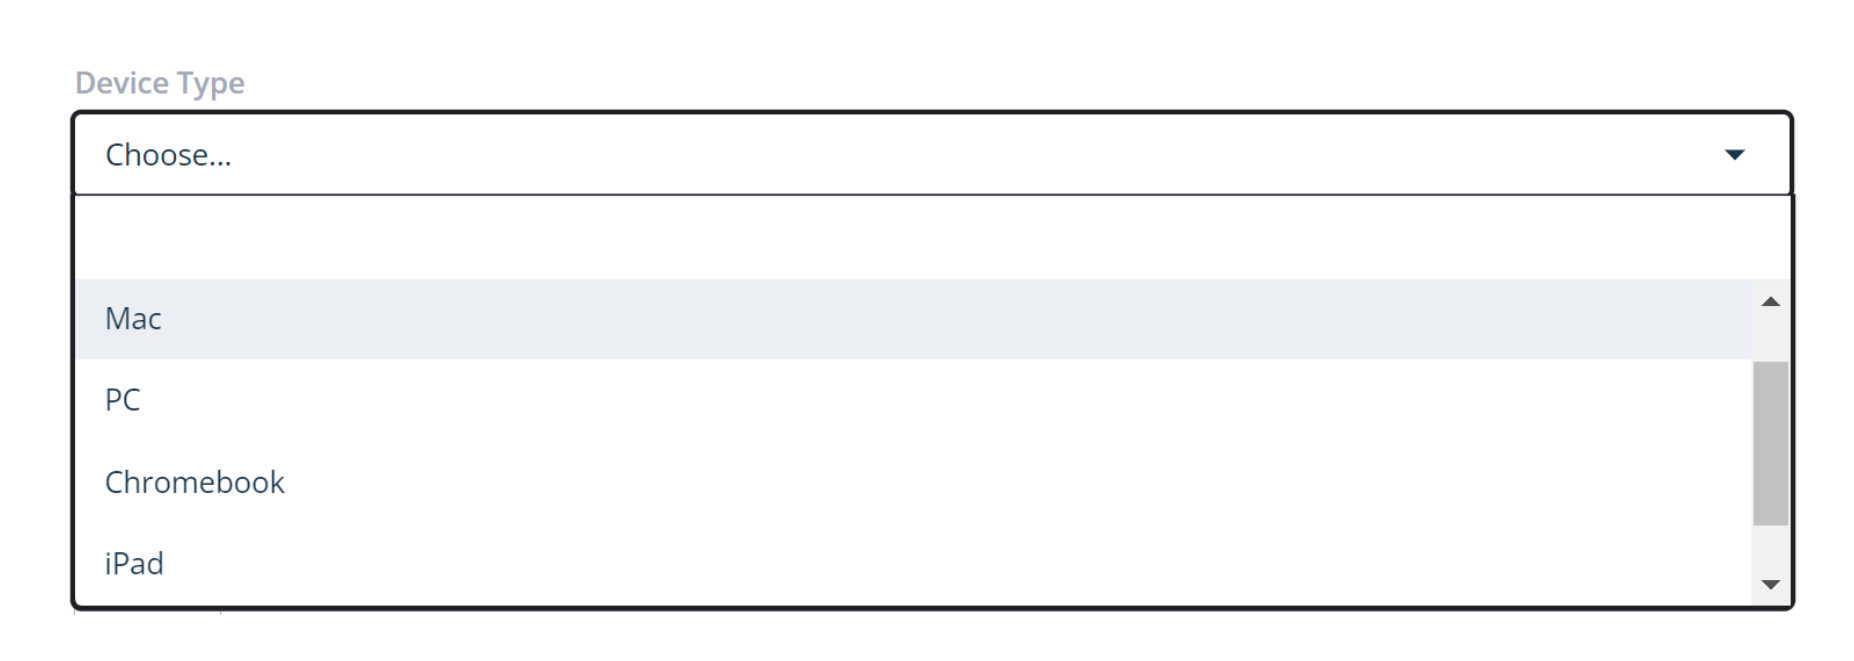
- Device Type. Confirm the device you were using so we can replicate your issue exactly.
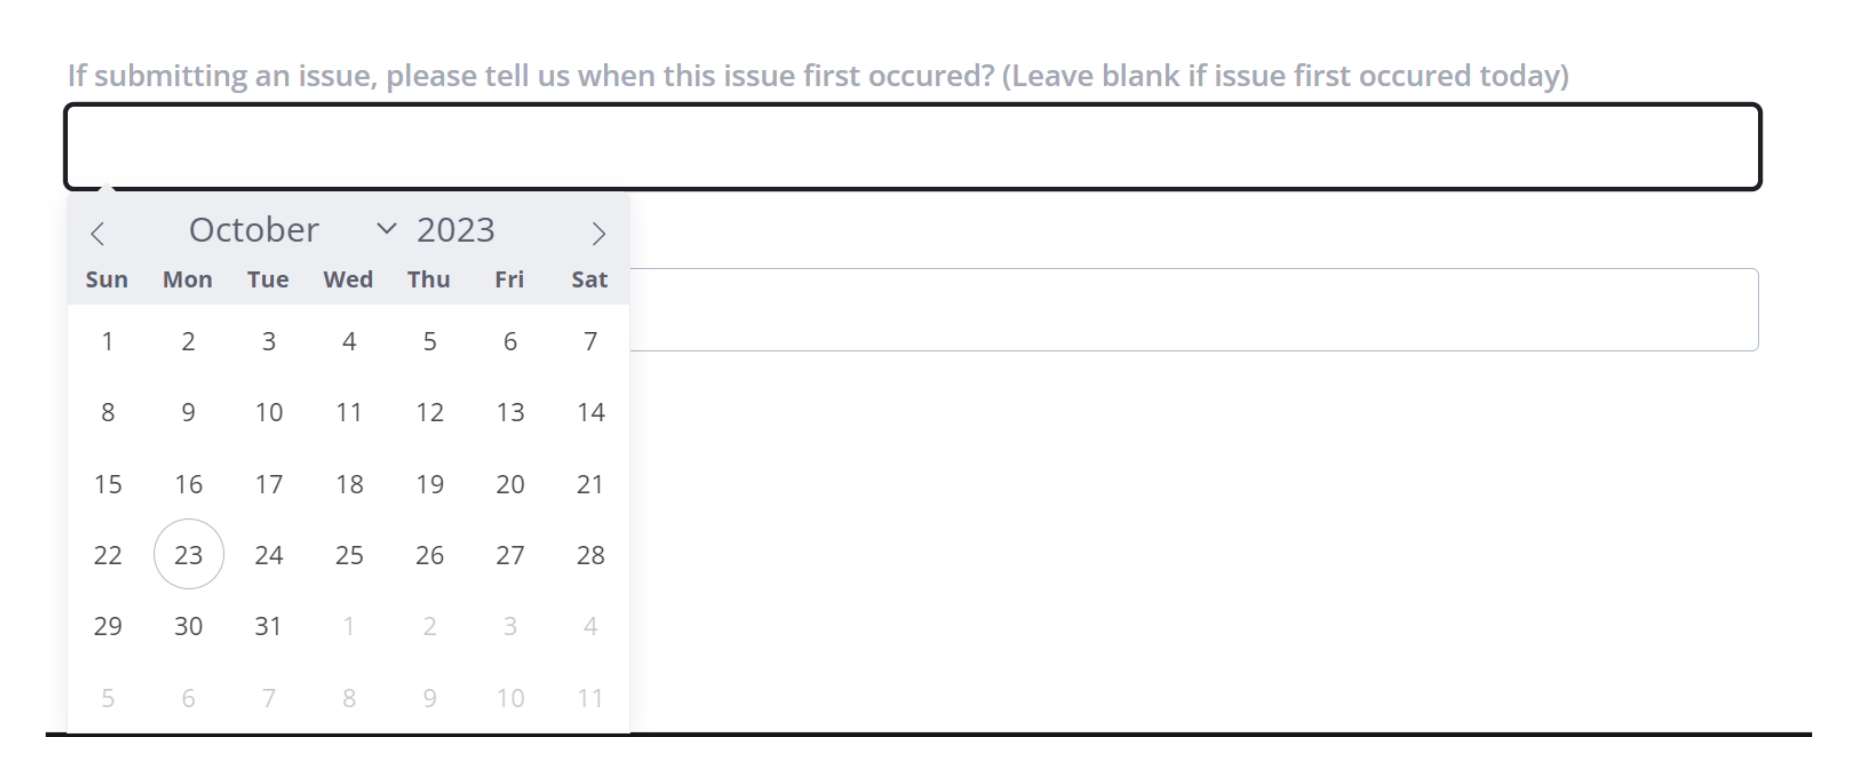
- Issue's First Occurrence. Flag the date the issue first occurred. If you're raising anything other than an issue, use the date of your request.
Step 3 — Add Contacts and Attachments
- User's Email Address. Enter the email address of the person the ticket is on behalf of — if you're raising this for yourself, use your own address; if raising it for someone else, use theirs. This lets us engage directly with the person who has the issue.

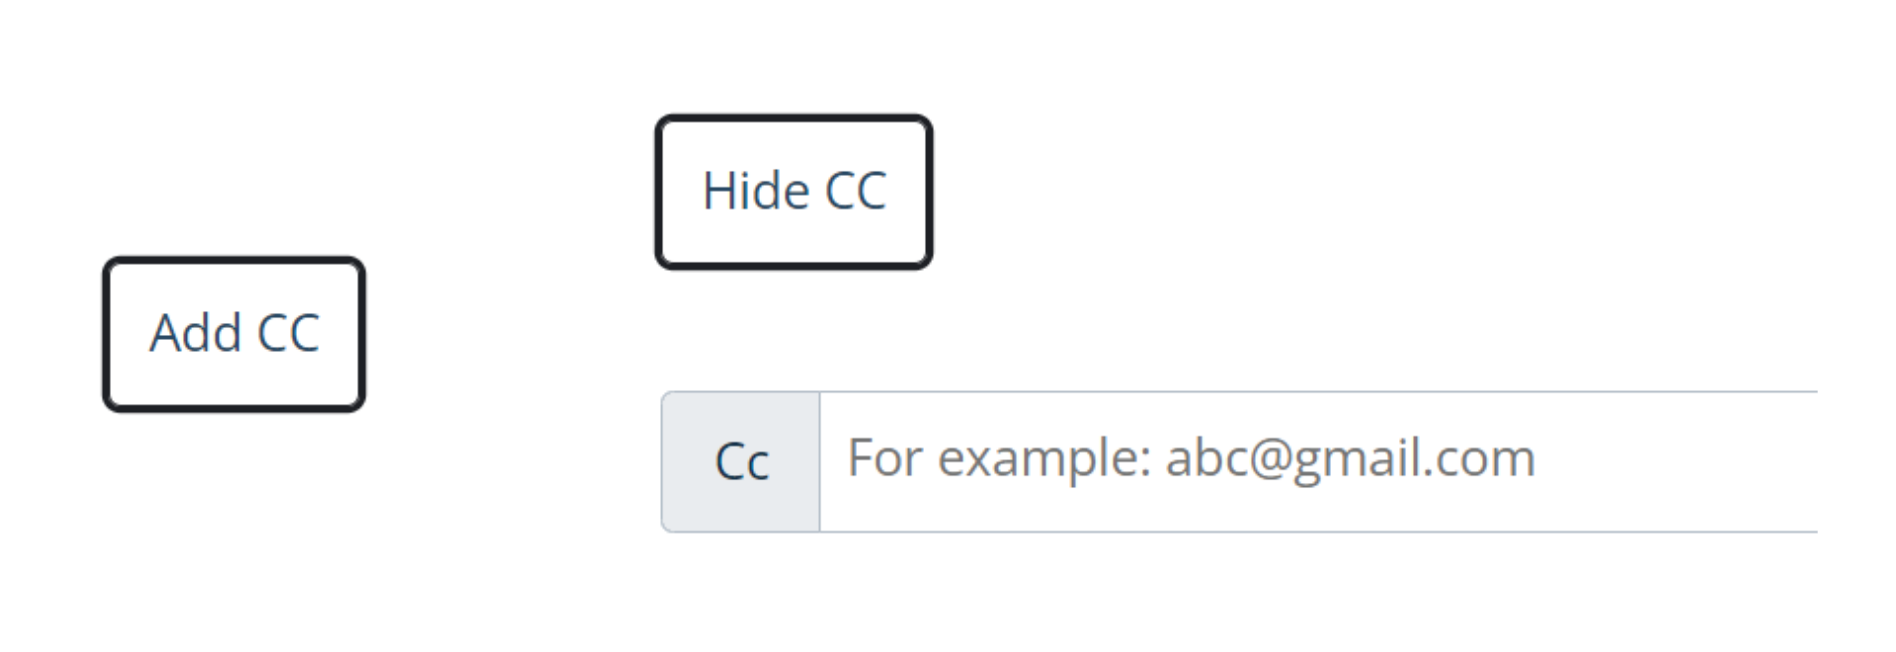
- CCing. Click Add CC to include anyone else who should receive updates on this ticket. Your usual VIDA contacts are Freshdesk agents and are notified automatically.
- Attachments. Attach any supporting files, such as spreadsheets or emails. Screenshots are best added directly in the Description field so they form part of the ticket body. Attachments cannot exceed 20 MB — for larger files, upload to a shareable location and include the link.
Step 4 — Submit the Ticket
Once you've completed the required fields, click Submit.
Replying to a ticket automatically reopens it, even if it's closed, and it will be triaged again.
Troubleshooting & FAQs
Pick whichever option is closest — the Support team will re-triage the ticket if a different Request Type or Priority is more appropriate.
See Creating a Great Support Ticket and Creating Screenshots and Screen Recordings for VIDA Support.
Related Articles
Was this article helpful?
That’s Great!
Thank you for your feedback
Sorry! We couldn't be helpful
Thank you for your feedback
Feedback sent
We appreciate your effort and will try to fix the article